This tutorial will provide you with a very easy and simple way to prepare and fix your models before sending them for 3d printing. You don’t need to be a pro in order to successfully fix your models.. Two main issues will be covered, first, how to convert your model to .stl which is the most common and printable file format of all. Second, how to check and fix simple and frequent problems.
For this tutorial you will need:
- MeshLab – A free software, which can open and convert many different file types.. You can download it here.
- Netfabb – Its basic edition is free. It has the ability to edit a model, find errors and fix them. You can download it here.
Both software that we are going to use, have a great amount of capabilities but only a few of them will be presented. We are going to keep it simple for the rookies…
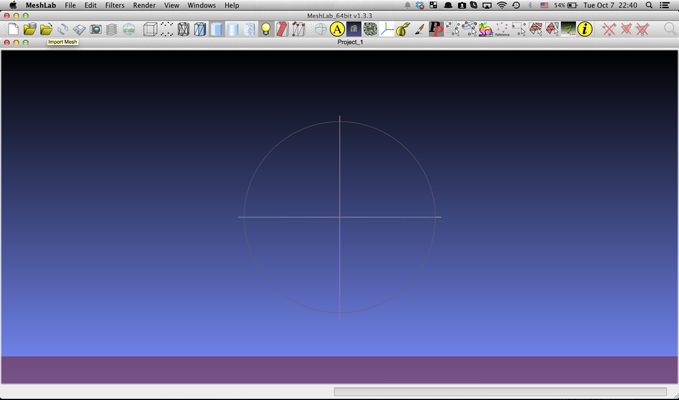
STEP 1
If your file is not in .stl format, it needs to be converted. So, lets open MeshLab.
Import your mesh. Press ctrl +o > browse your file> select your file > press open.
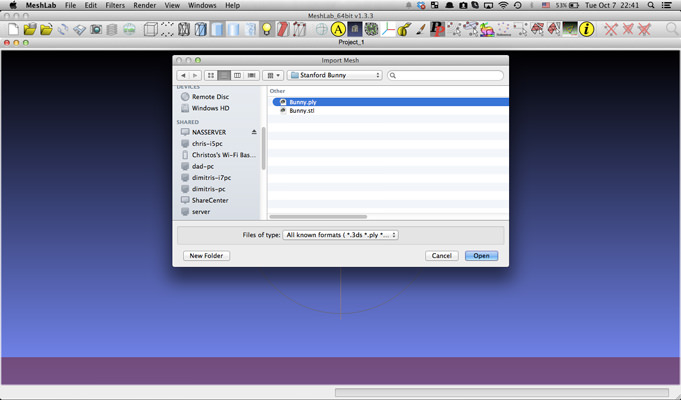
Press ok on every question.
STEP 2
Export your mesh in .stl format. To do this: File > save as… > Files of types set to “STL File Format (*.stl)” > Browse the correct location > Press save
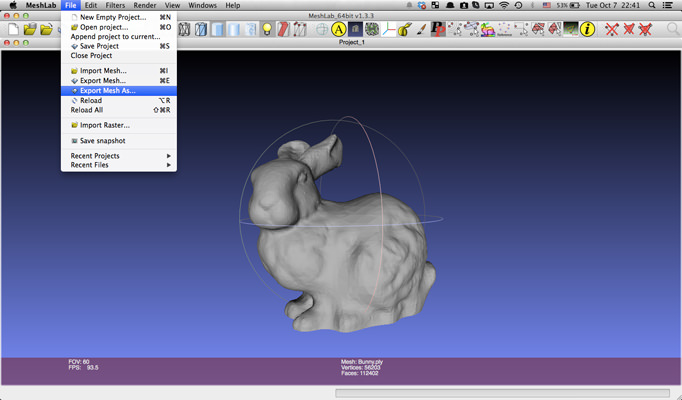
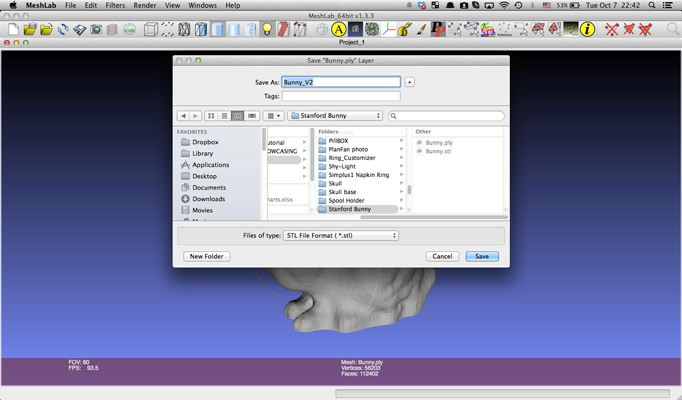
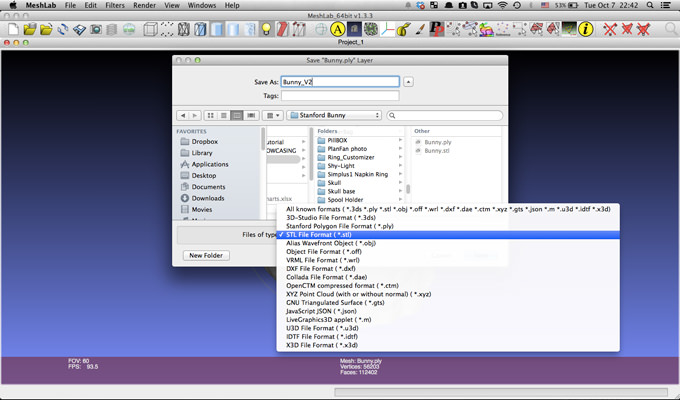
Press ok on every question. Once saved, we are done with meshlab.
STEP 3
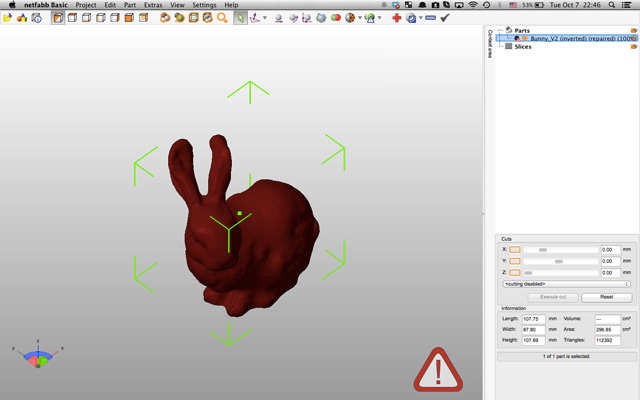
Open your file in Netfabb. To do this: Project > Open > browse your file > select your file > press open.
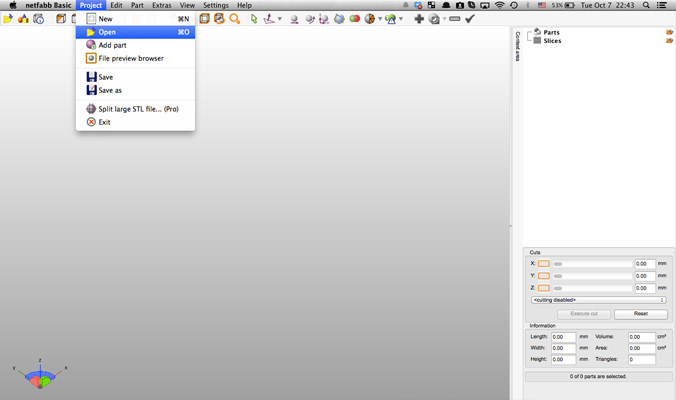
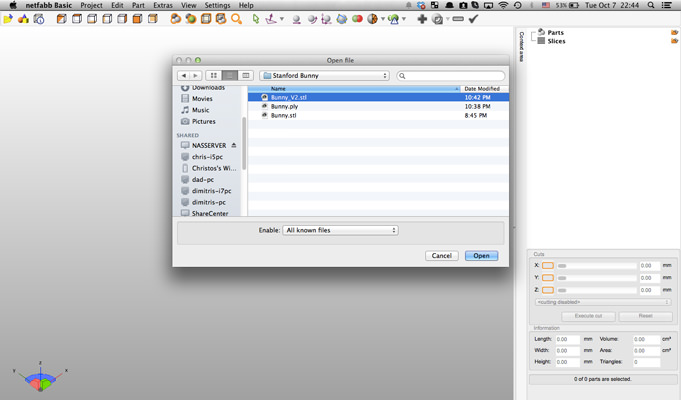
And the model is loaded..
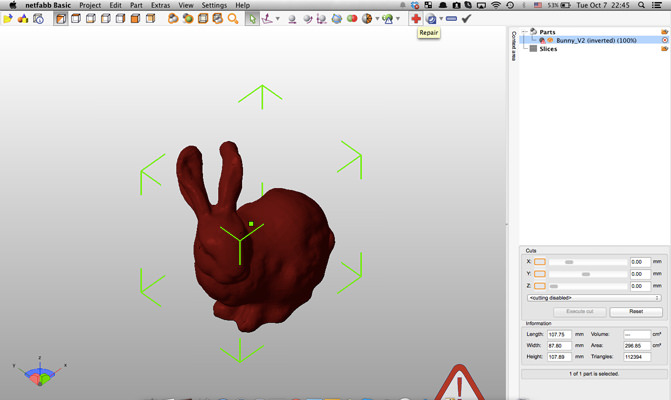
STEP 4
Press heal. The red cross at the top right corner of the screen.
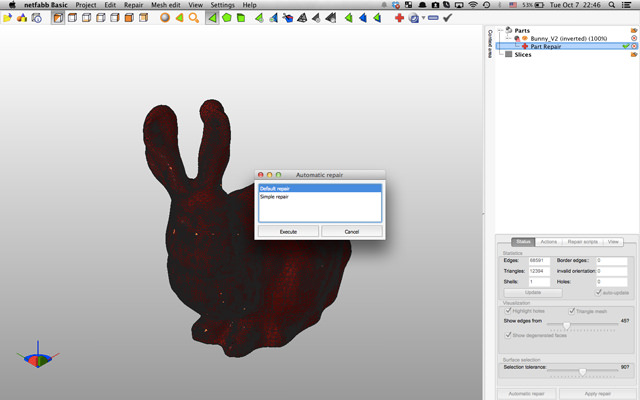
Press “Automatic repair”, at the bottom right corner of the screen. A new window will pop. Select the Default repair and press execute.
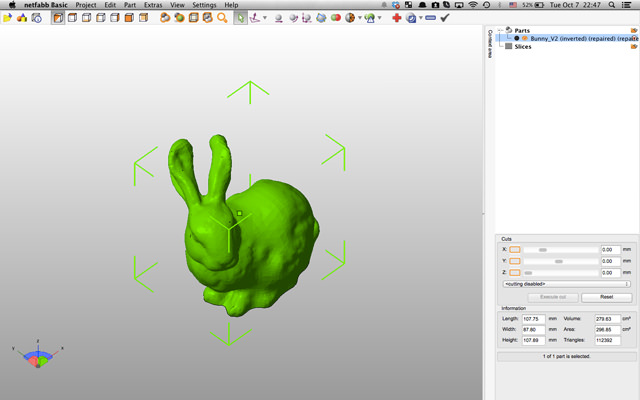
Press “Apply repair”, at the bottom right corner of the screen. A new window will pop, in this one choose remove old part.
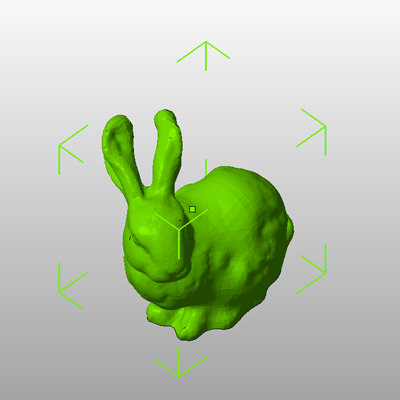
TIP: Green is good, Red is bad.
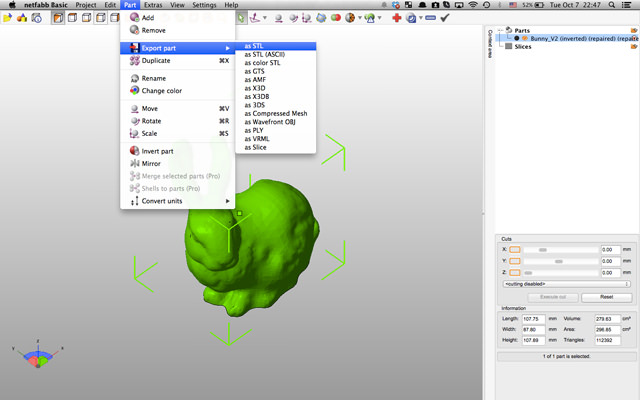
STEP 5
Export the part in .stl format. To do this: Part > Export part > as STL > Browse the correct location > Save

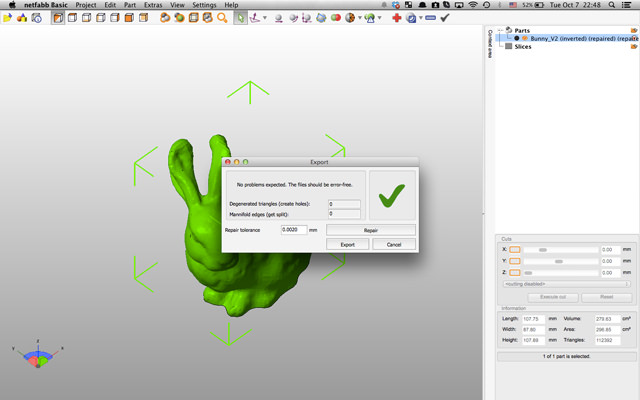
A new window will pop, press repair and once the green tick appears press export.

Send it to PLAFAB and get it printed at your doorstep within a few days…

