Introduction
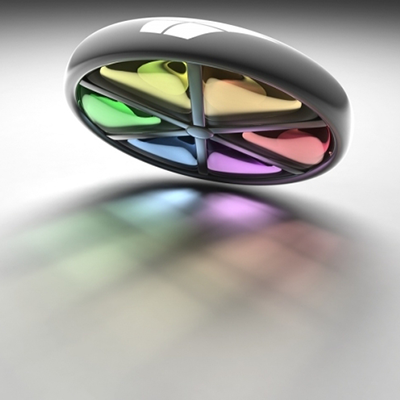
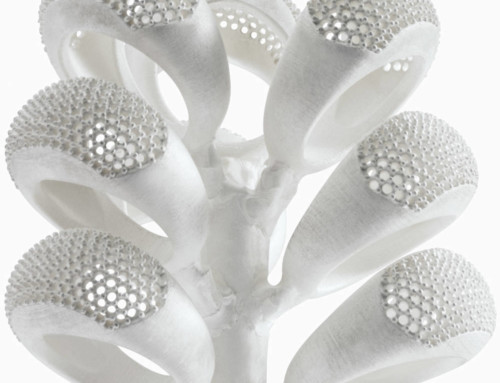
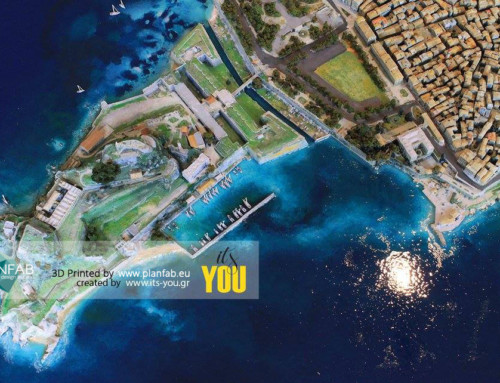
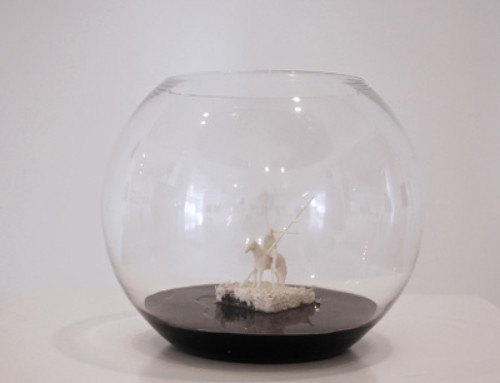
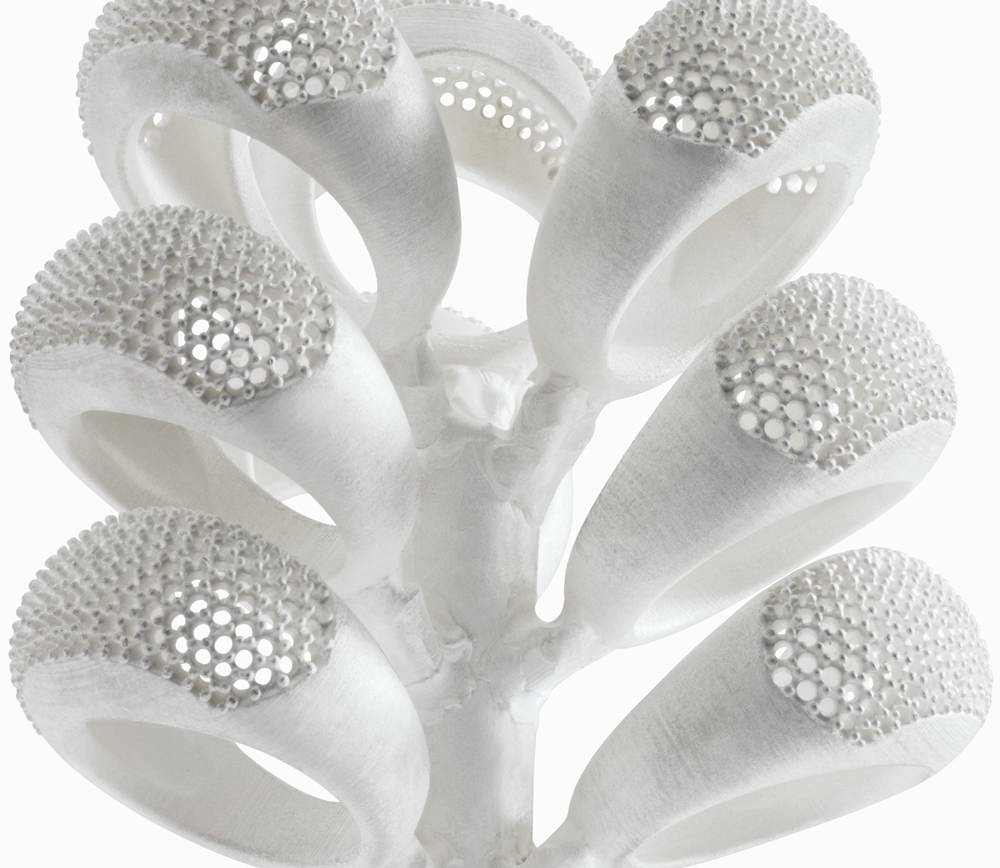
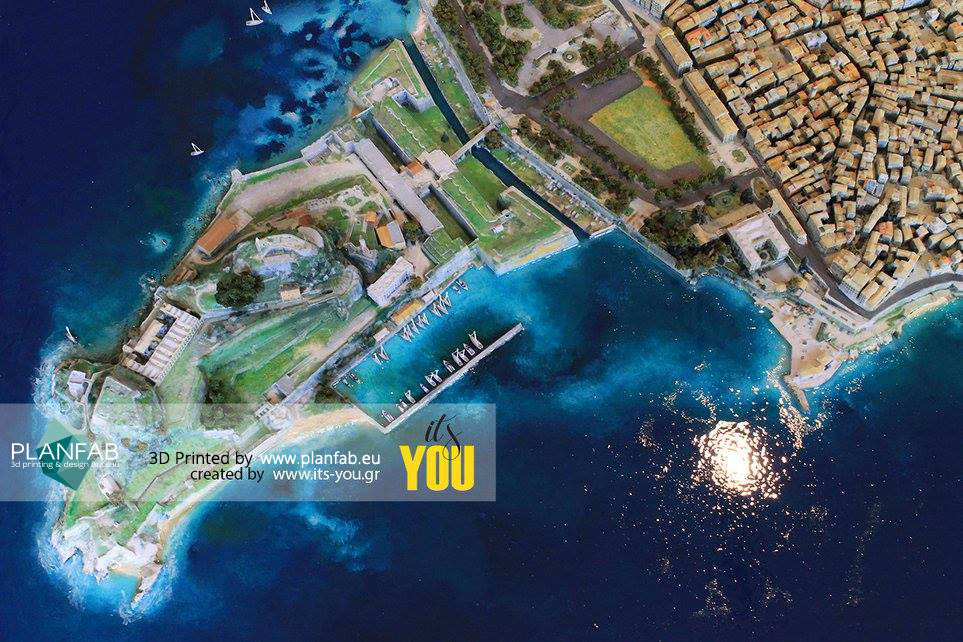
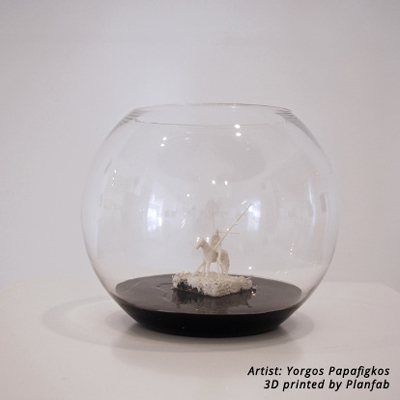
Full Color Sandstone (FCS) is the only material able to build full color 3d models. This material is perfect for visualization and applications that need detailed and colorful representation such as figurines, life-like models, avatars, architectural models and many more.
How does it work?
FCS printers work layer by layer, spreading, on its pass, a thin layer of gypsum like powder and selectively binding it to create the model. The unique feature of this technology is that along with the binder it uses CMYK printheads and simultaneously binds and dyes to produce the full color result.
Color design
In order to get a better perspective of the subject we will, firstly, go through some basic explanation of important terminology.
What is RGB
RGB are the initials of the words Red Green Blue which is the color format of light emitting monitors. Its pixel reproduces combination of these colors in order to project an image.
What is CMYK
CMYK are the initials of the words Cyan Magenta Yellow Key (black) which is the color format used in the world of ink and paper. The mixture of those four colors creates the final print color.
RGB vs CMYK
There is a big difference between those two color formats due to the fact that, unlike monitors, paper cannot generate light. Thus RGB offer a much wider range of colors and tend to be more vivid than CMYK colors. This means that many RGB colors cannot be produced using the CMYK process.
When colors are converted from RGB to CMYK, it is likely that their appearance will change. Especially the bright colors tend to look duller and darker in CMYK.

How to optimize the colors for FCS printing
- Keep hard edges to your colors. Shades, gradients and such effects are difficult to duplicate.
- Use clearly defined colors. FCS models are not photorealistic portrayals on a monitor, they are physical objects.
Tip: Brown and skin tones are difficult to reproduce, so pay extra attention when working with those color tones.
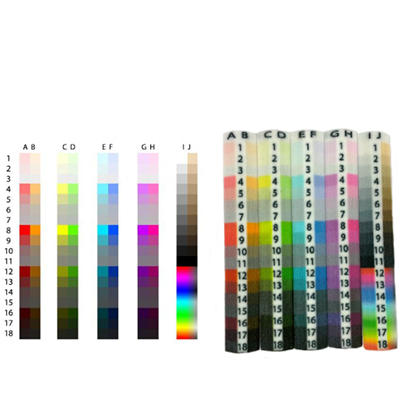
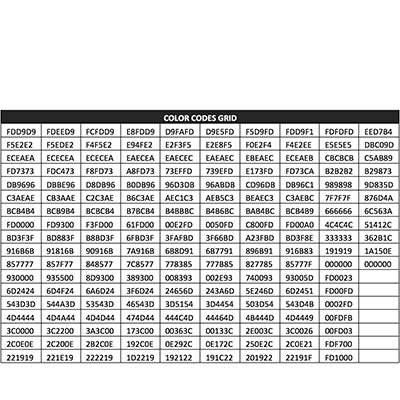
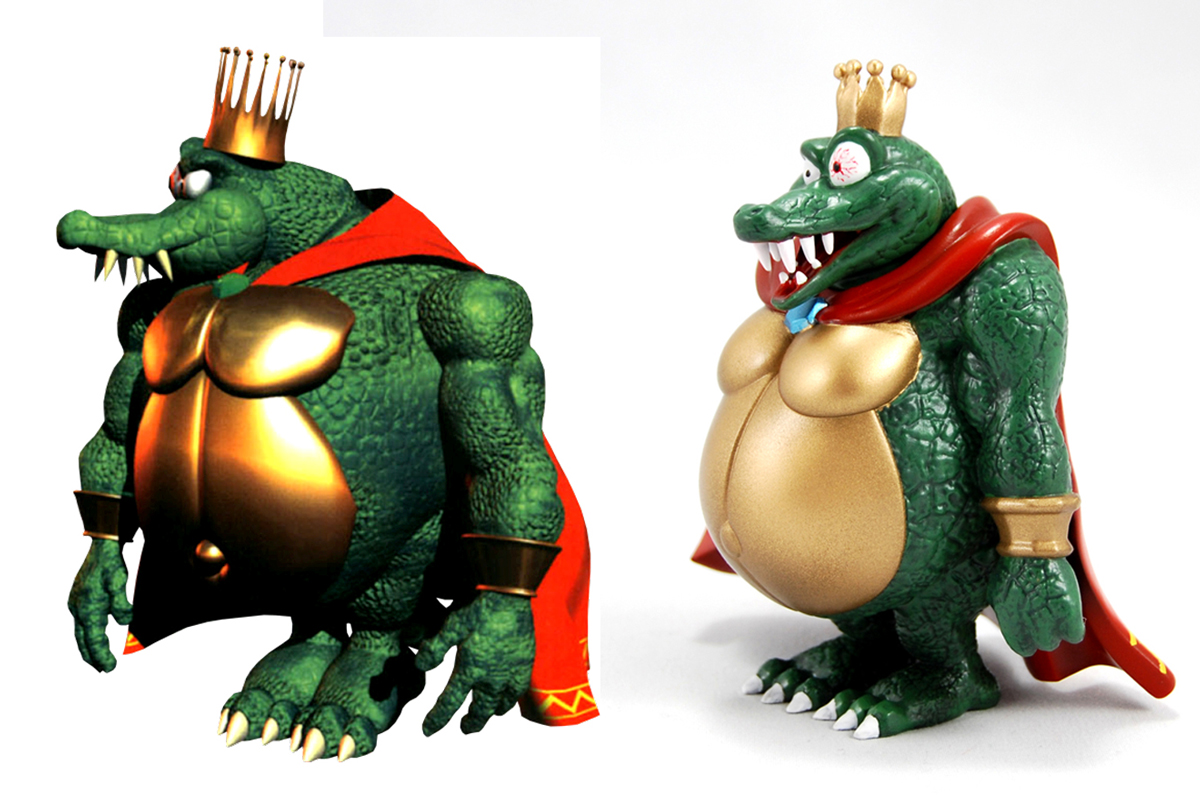
On the photo below you can examine how the colors look on the screen and what the final result will look like. In order to achieve even better coloring results the list with each colors code follows.
Wall thickness
Wall thickness plays a crucial role on the colors of an FCS model. FCS printers only dye 1 mm of the outer layer of the model and after the completion of the printing process the model gets coated with a cyanoacrylate glue which is absorbed by the model and brightens the colors. Thus if your wall thickness is not consistent the model will absorb different amount of glue on each section, resulting in slight tone differences.
In order to get better color results, on hollow models, try to keep consistent at about 3mm wall thickness. However, if such level of wall thickness consistency is possible, try to slowly transition between thicknesses to avoid obvious changes in color saturation.
Resolution
When working with FCS 3d printing, you should never forget that ink is absorbed by powder in order to create the colorful result. Thus effective resolution of the colors in the model is about 50DPI, even though the printheads resolution is 300DPI. This detail is really important when designing very small parts with fine details.
