Nowadays 3d printing is accessible to everyone and the internet is full of free 3d modeling apps. So even if you are not a professional and you don’t know how to 3d model, we are going to help you get involved and start designing your own things.
In this tutorial we are going to show you how to turn your hand drawn designs into 3d models within minutes. Just imagine the possibilities….
Requirements:
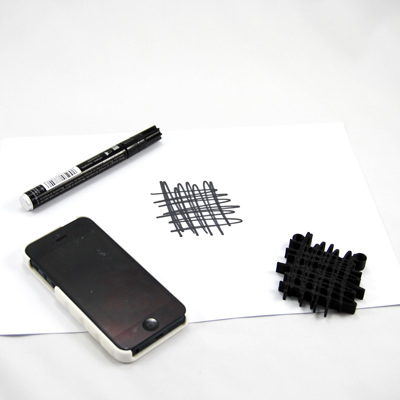
i) Piece of paper (white)
ii) Marker (Black)
iii) Digital camera (phone camera is fine) or scanner
iv) Adobe Photoshop, Illustrator or other image editing software (Gimp is a free beginner tool)
v) Computer with an updated browser such as the latest version of Chrome (best for 3D and webGL)
STEP 1
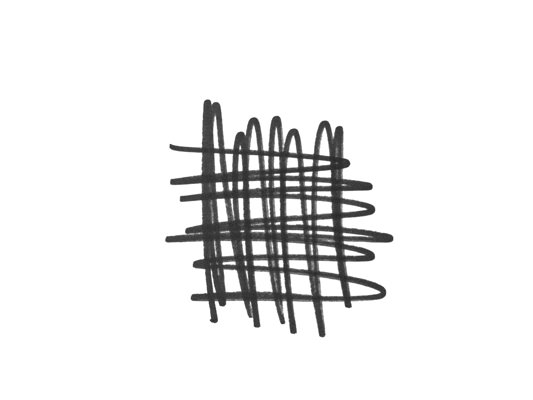
Everything starts with an idea, so…. think and sketch on a piece of paper your idea. Make sure to use white paper and dark marker (black is the best solution). You need high contrast in order to have great results.
STEP 2
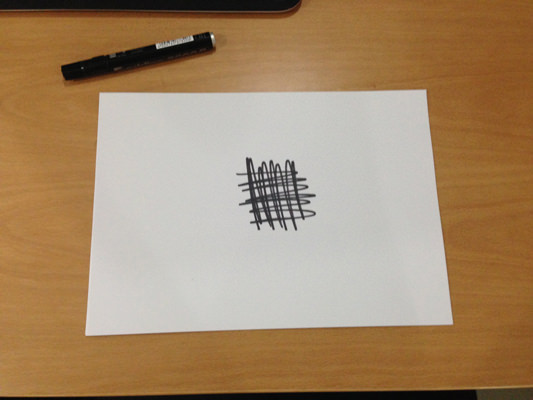
Take a good photo of your sketch. For best results take the photo in a well lid room with no flash usage. If you are using a phone camera, use the mono filter… it helps a lot.
STEP 3
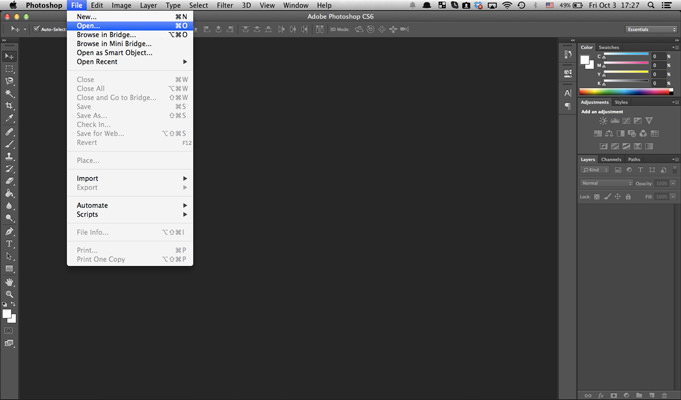
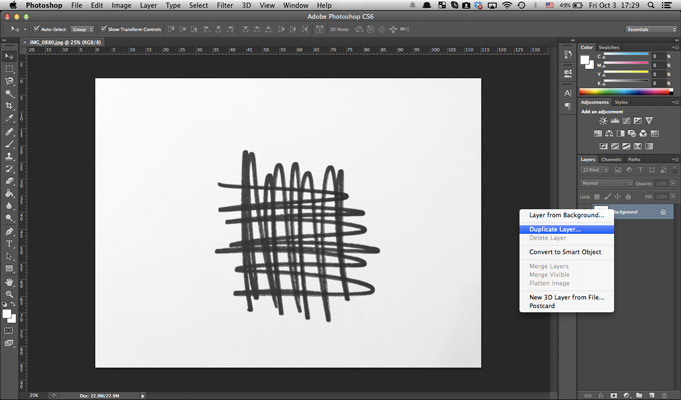
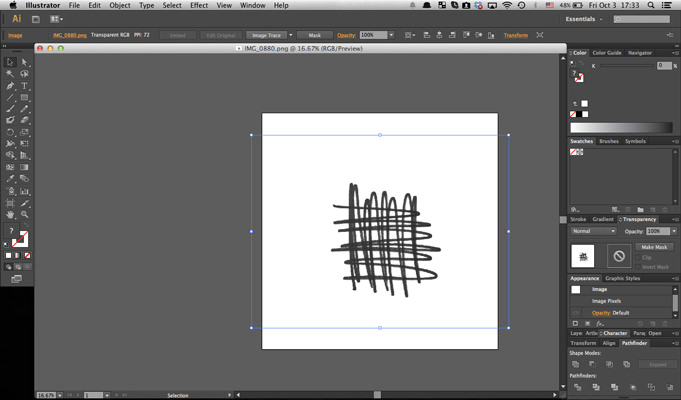
Import/Open your photo in Photoshop.
Duplicate the layer by pressing cmd + J on a MAC or ctrl + J on a pc. Erase the background layer by selecting it and pressing delete.
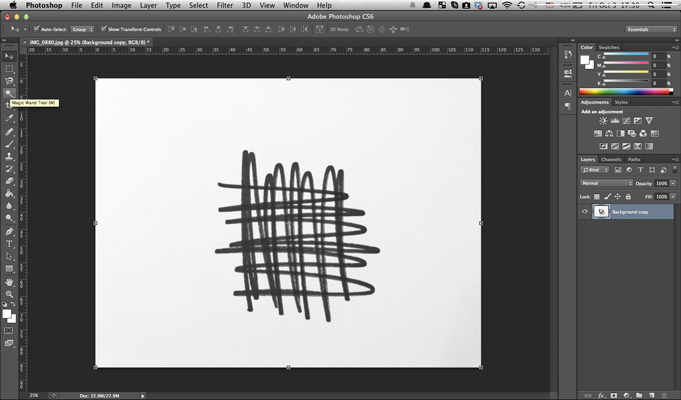
Select the Magic Wand Tool.
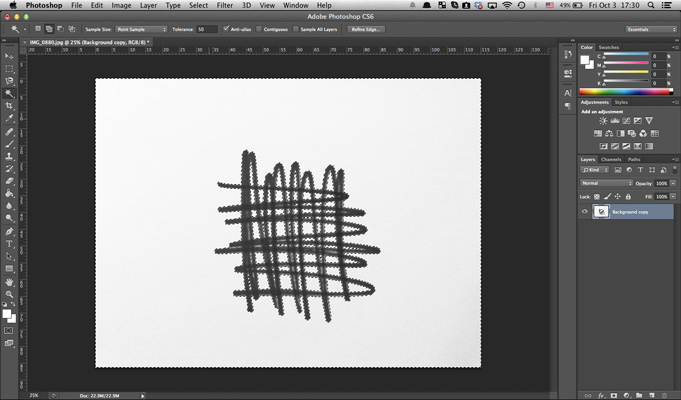
Make sure to have a high tolerance and the Contiguous un-ticked. Then, click on the white area and all the whites will be selected. Once you select them, erase them by pressing delete on your keyboard.
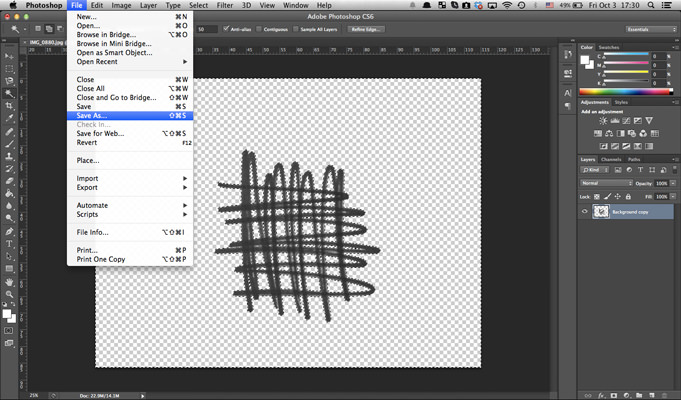
Save your final result as .png image.
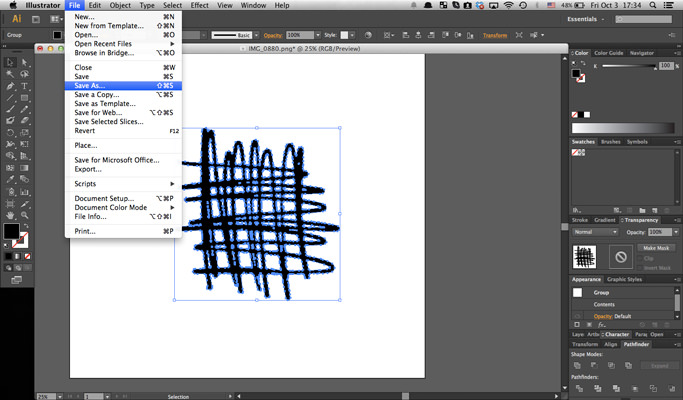
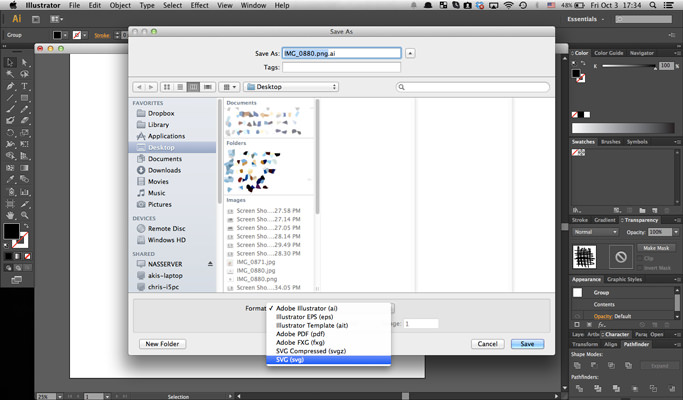
STEP 4
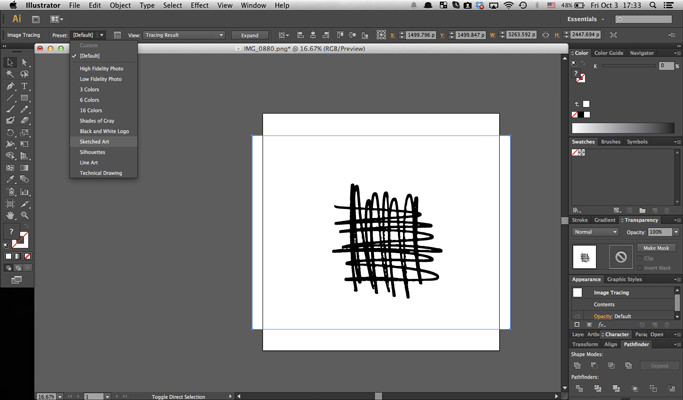
Open your newly saved .png in Illustrator, select it by pressing on it and trace it by pressing Image Trace at the top of the screen.
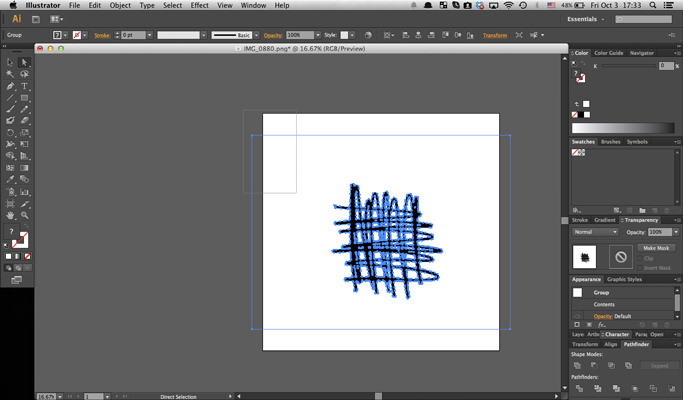
Select the Sketched Art preset for better results and press Expand.
Get rid of the borders by pressing A on your keyboard and select one of the border corners and delete your border by pressing delete twice.
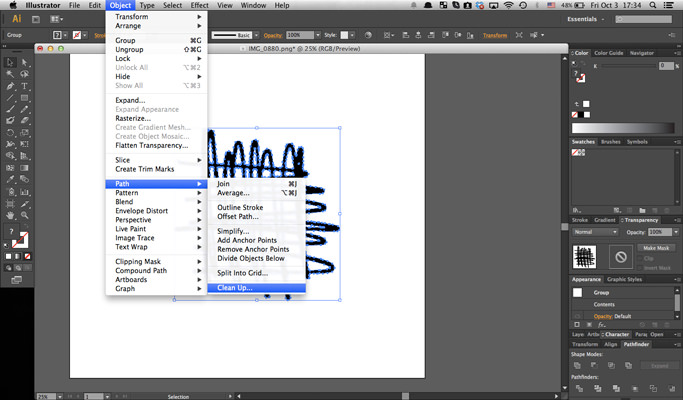
Now it’s time to clean up the sketch. Select it and press Object > Path > Clean Up.
Save your design as .svg
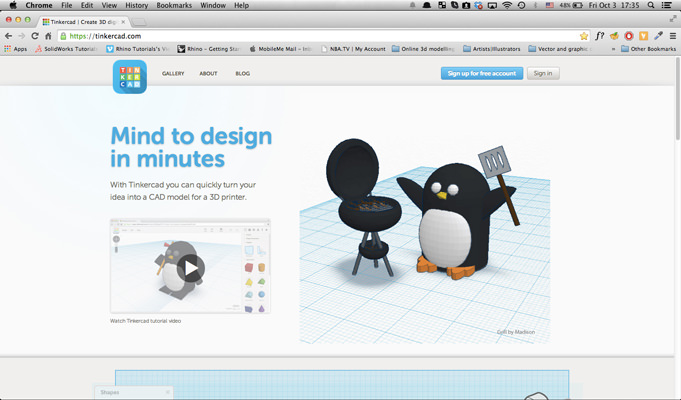
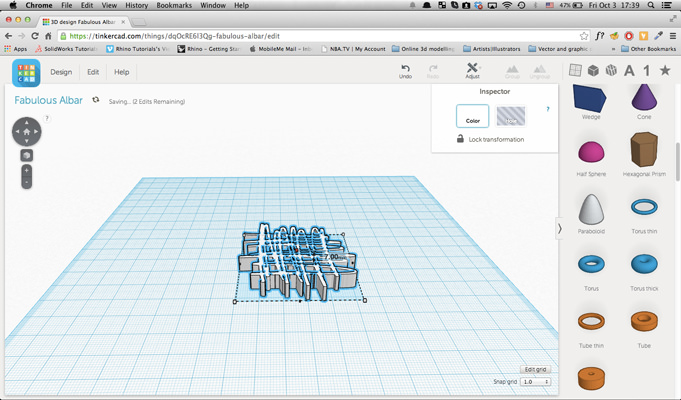
STEP 5
Log in Tinkercad and import your design.

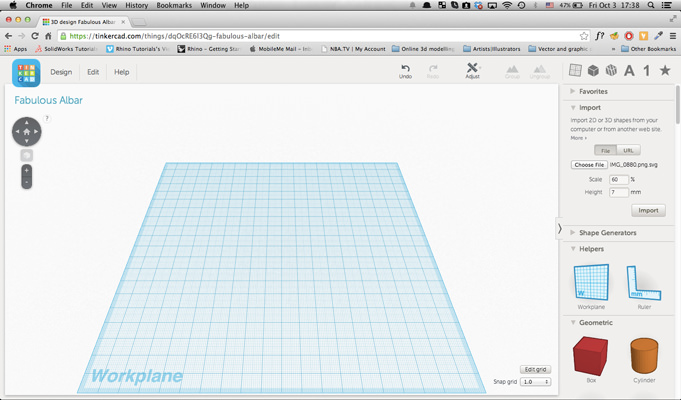
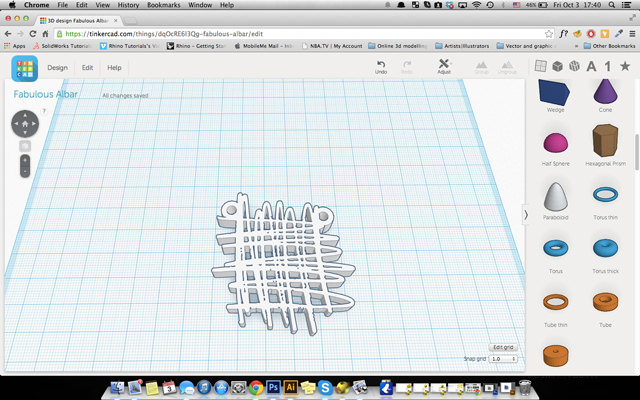
Edit your design by dragging it around or by pitching its edges.
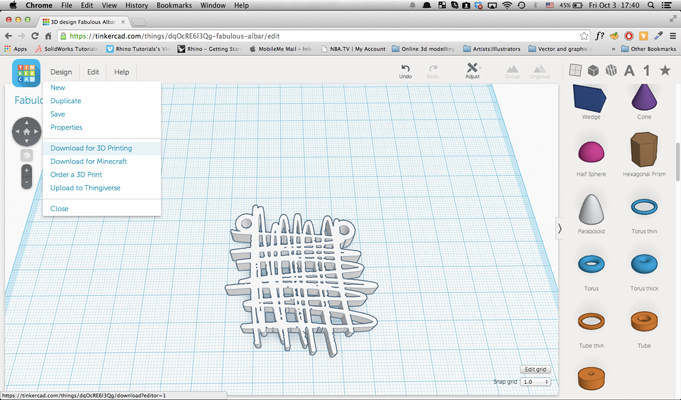
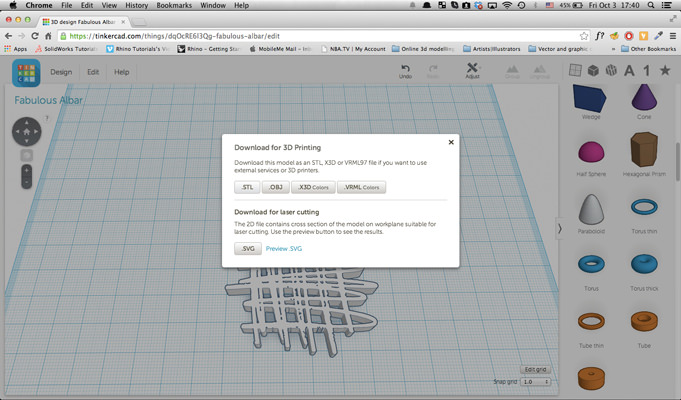
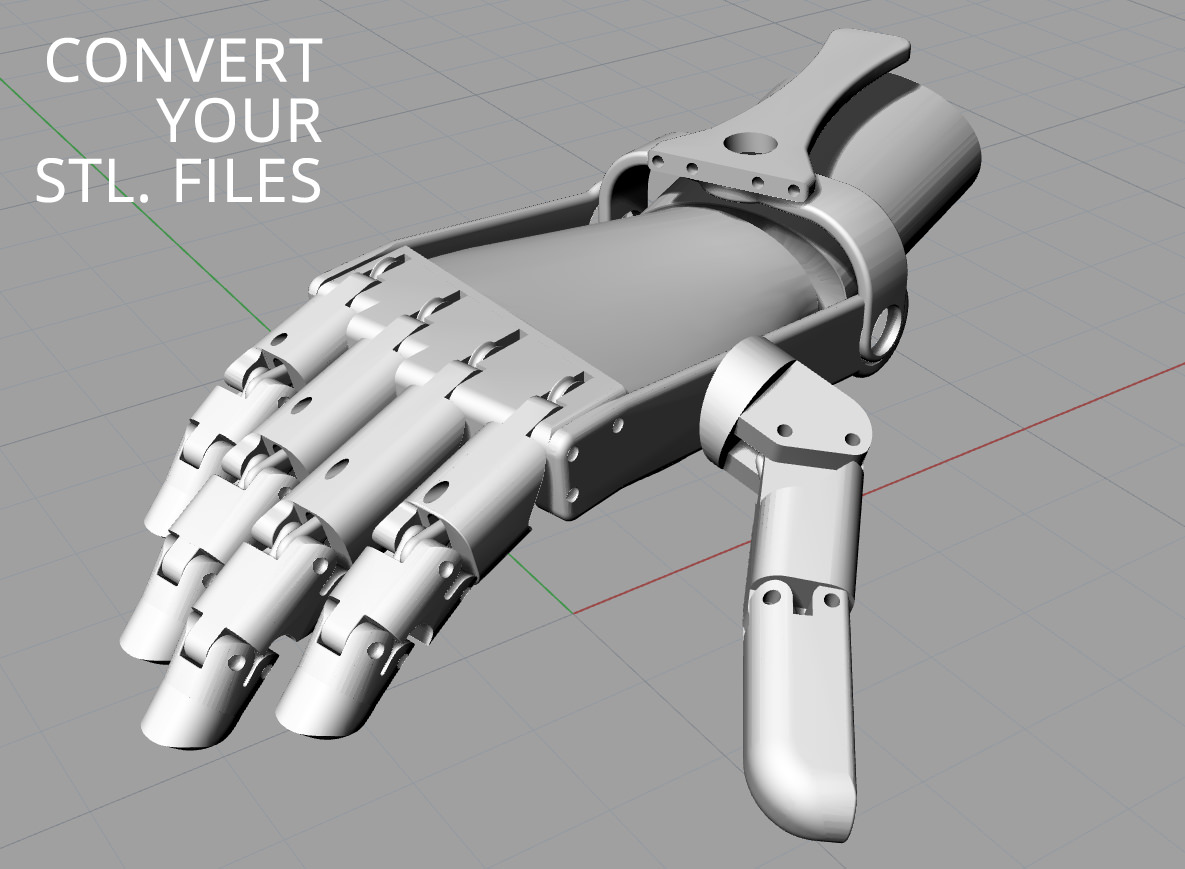
Once you are ready, go to Design and press Download for 3D Printing. Download it as .stl.
STEP 6
Send your design to PLANFAB and in a few days your new creation will be at your doorstep.
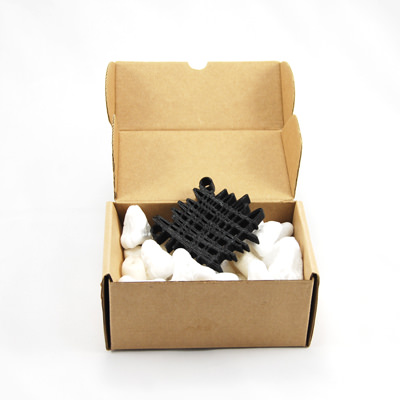
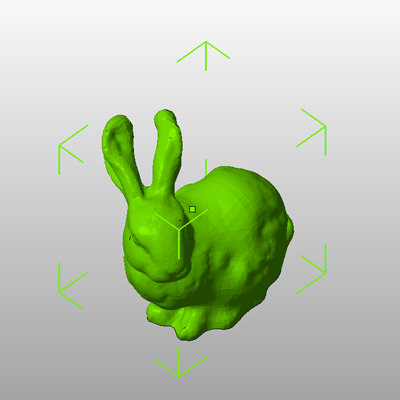
If you like it, you can download for free my design here.
